Page 1 of 2 12 LastLast
Results 1 to 10 of 11

Thread: One man hood removal

  1. #1
    Join Date
    Jul 2009
    Location
    Farmington Hills, MI
    Posts
    4,581

    Default One man hood removal

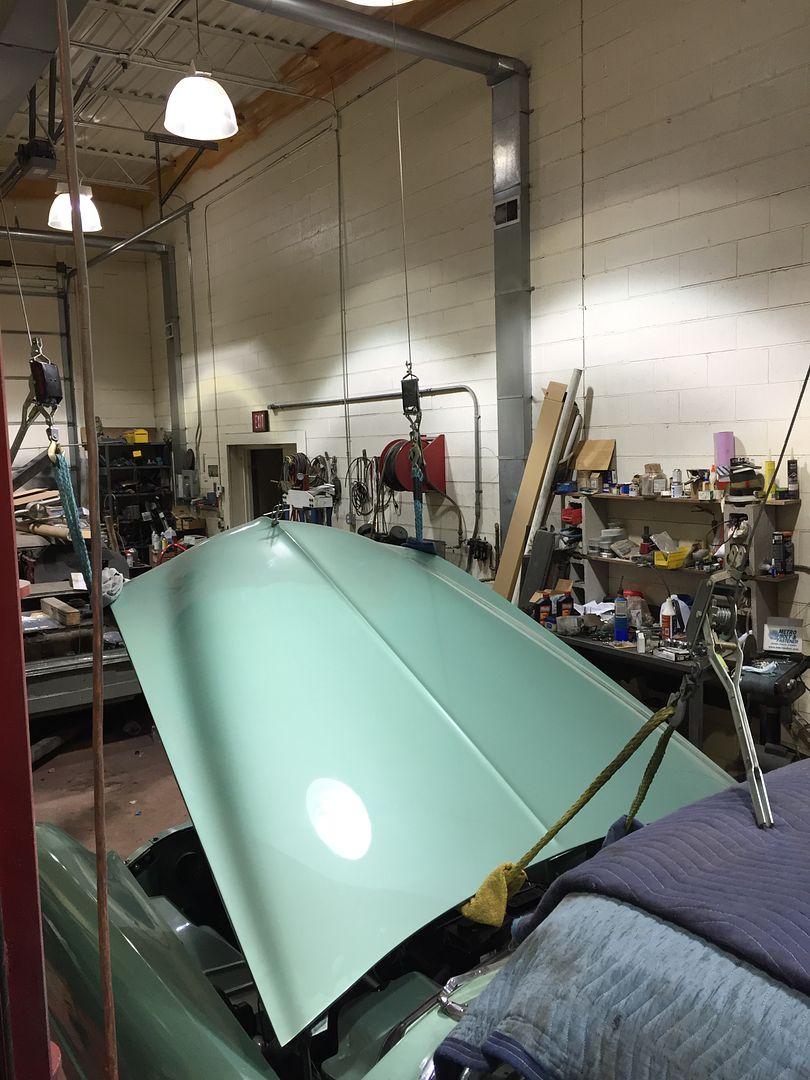
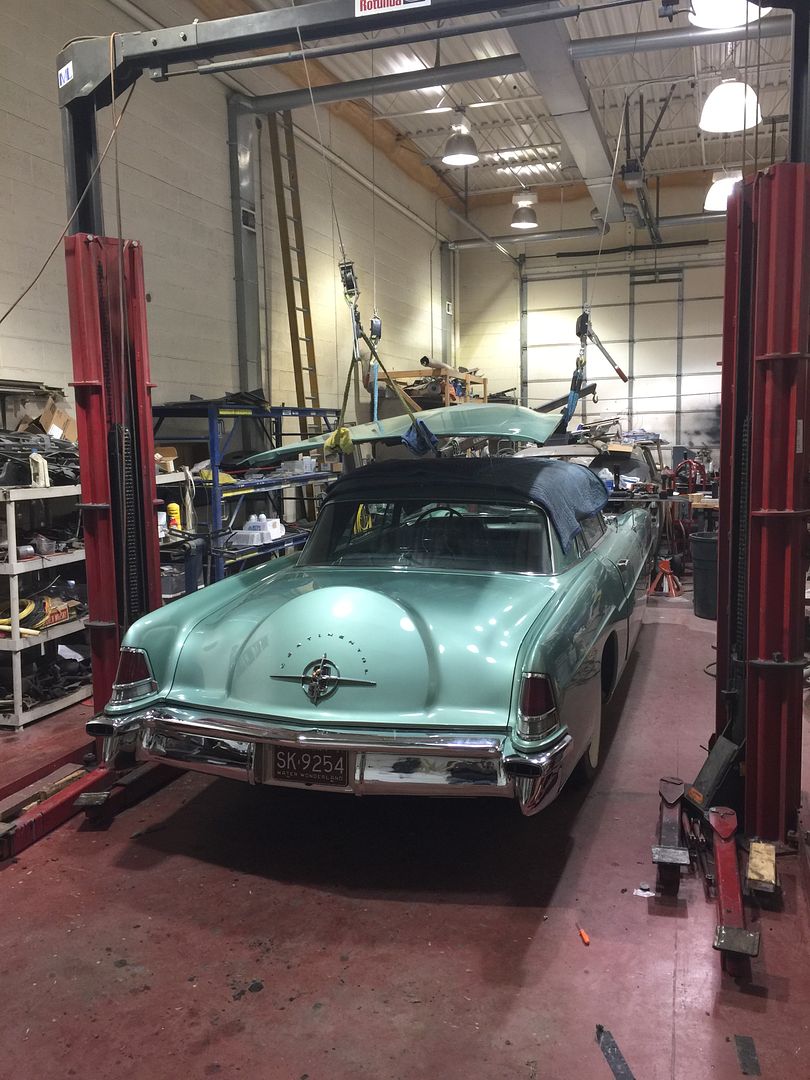
    While my ceiling is quite tall in my hobby shop I think this might work in a residential garage.

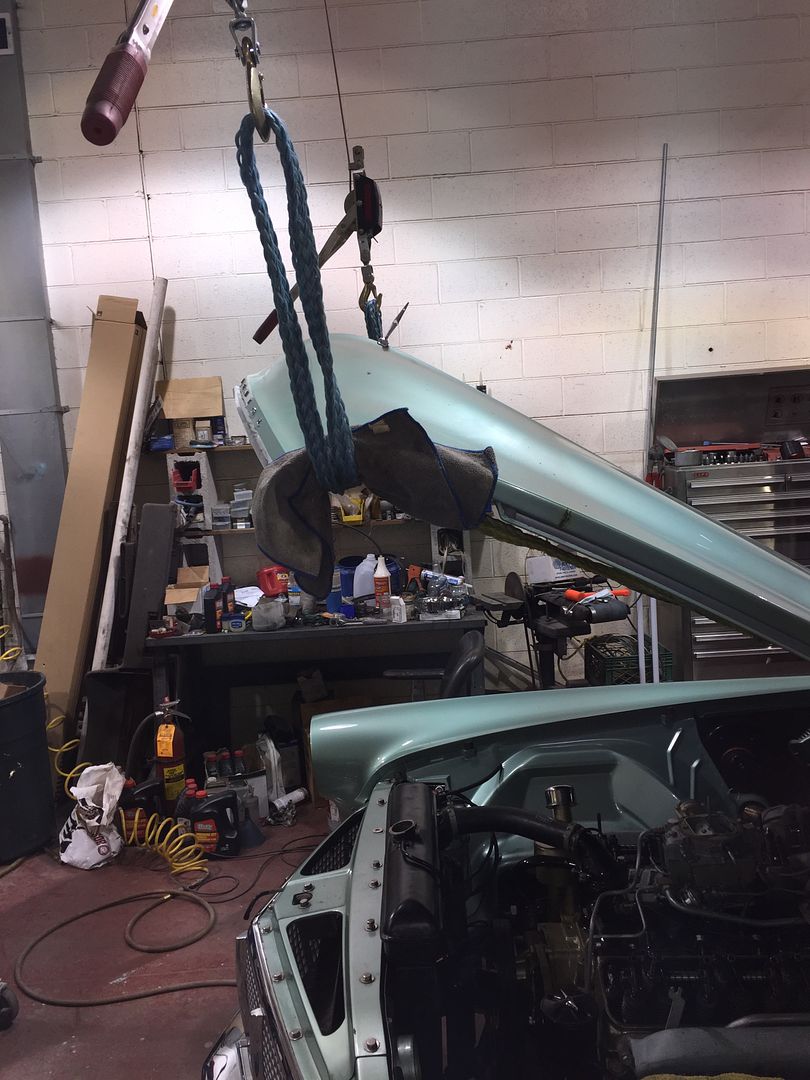
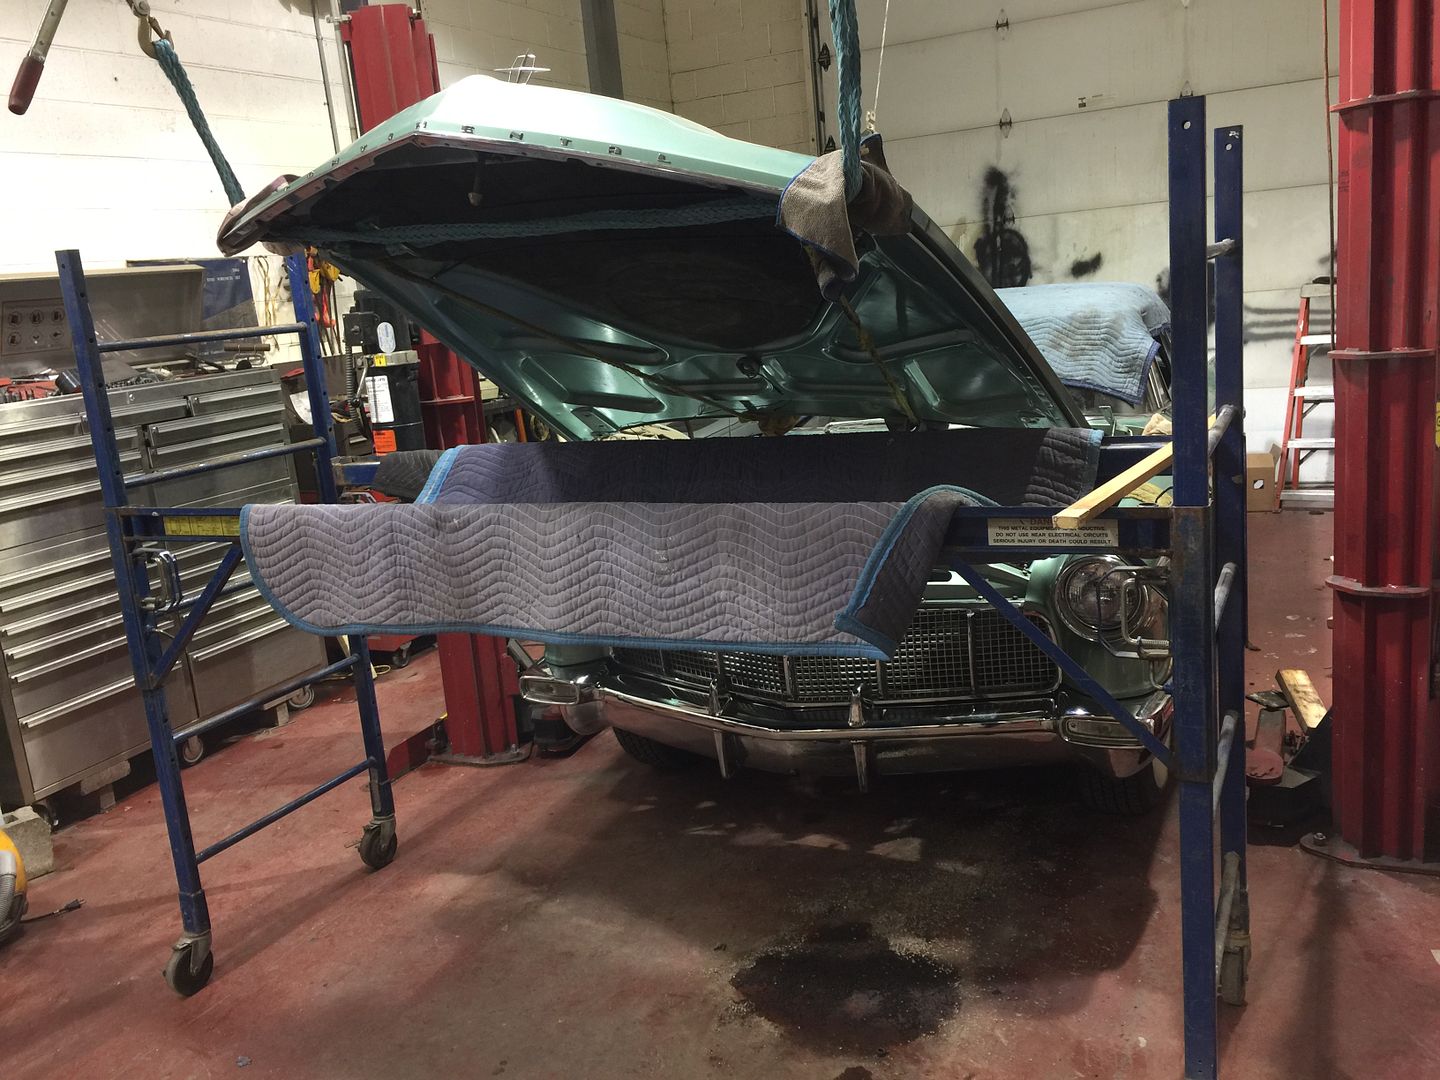
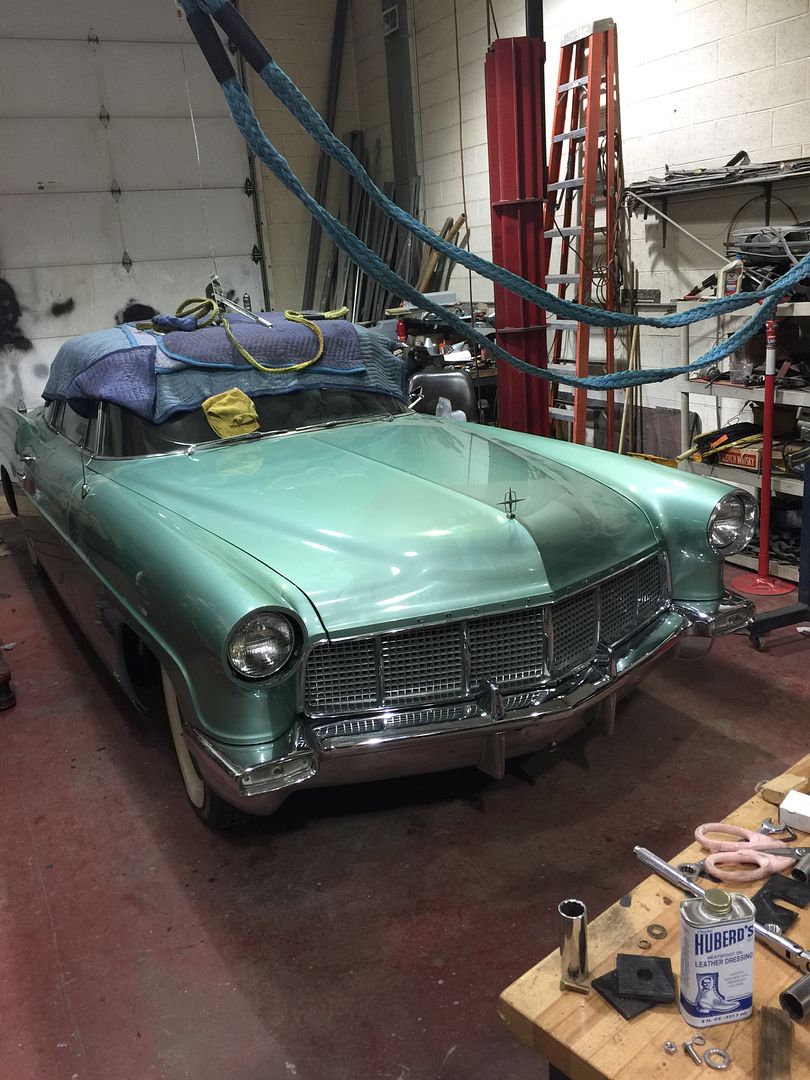
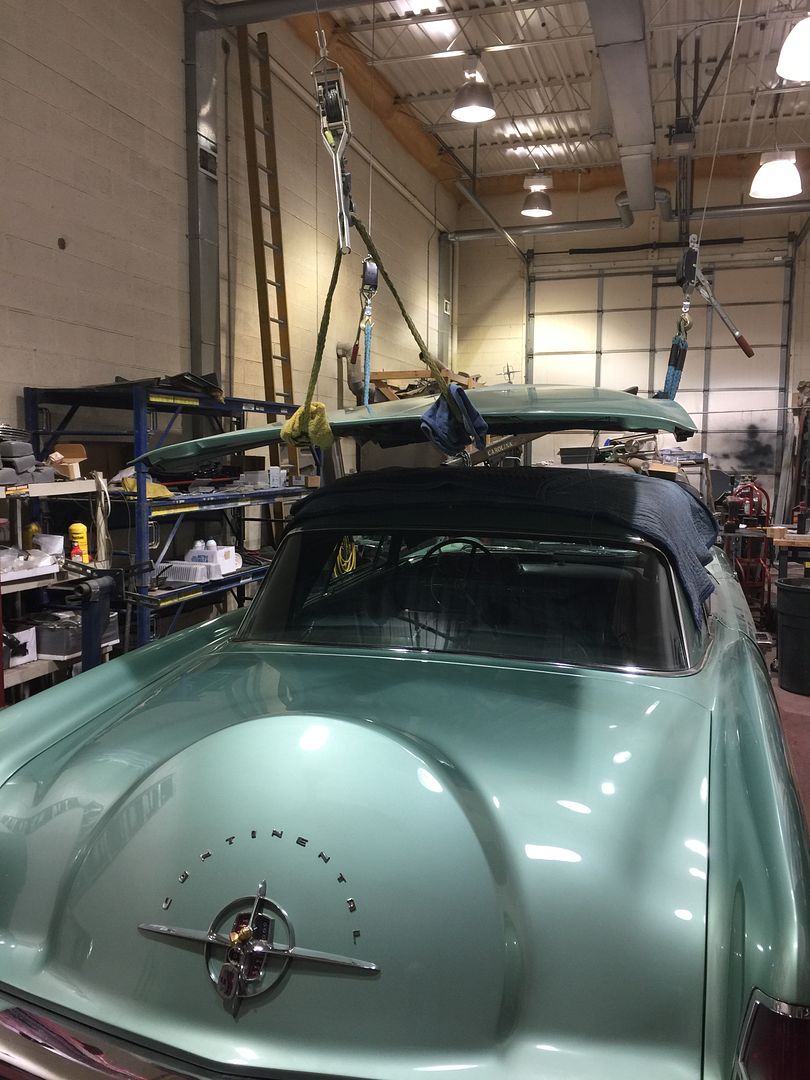
    Using 3 light-duty come-alongs and 2 16-foot nylon tow ropes I was able to lift and reinstall a hood, all by my lonesome, just because I thought I could.

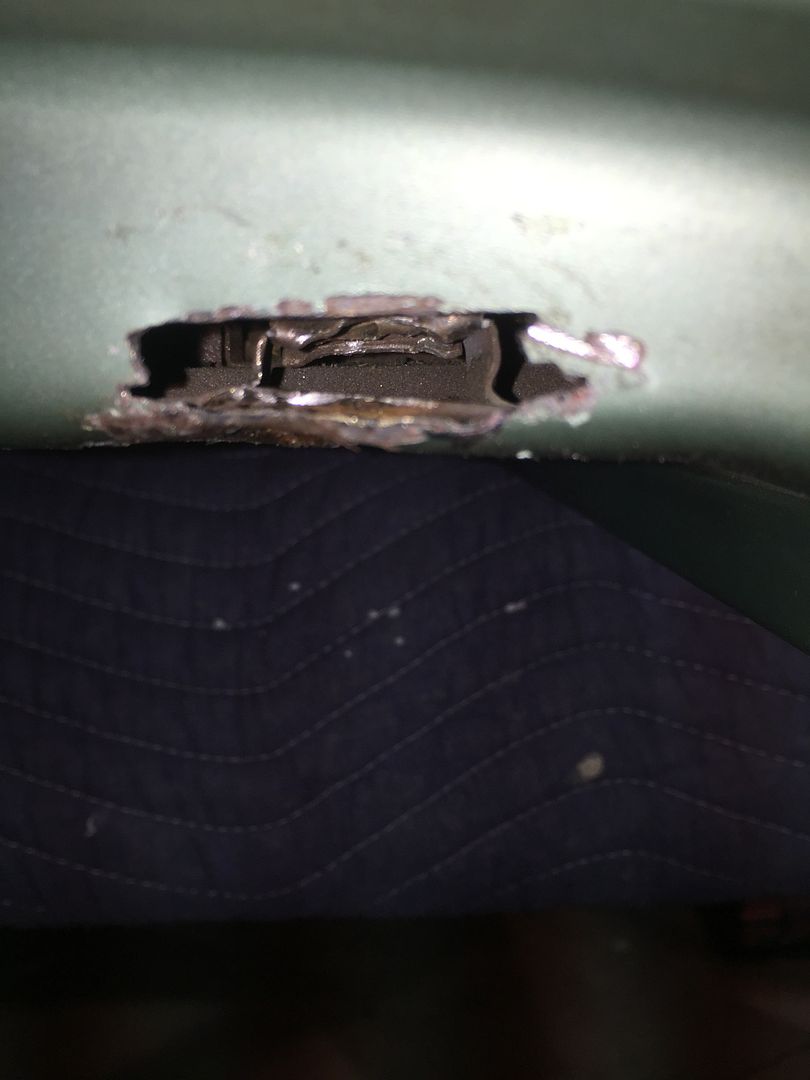
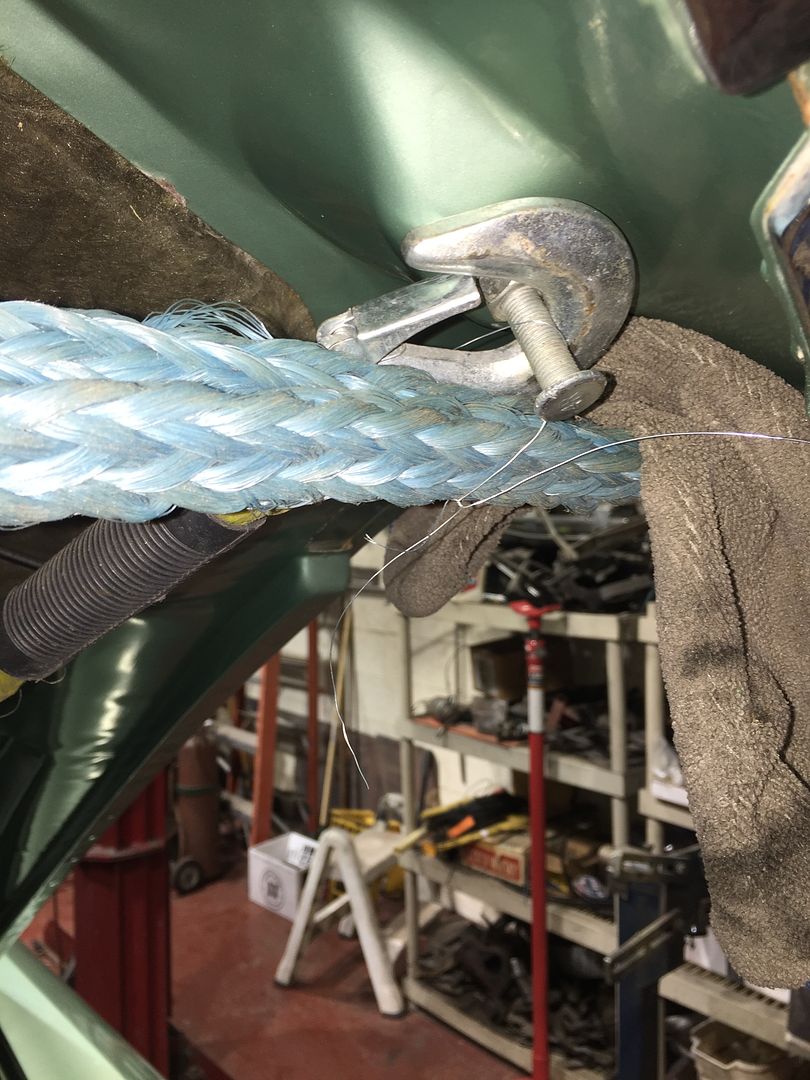
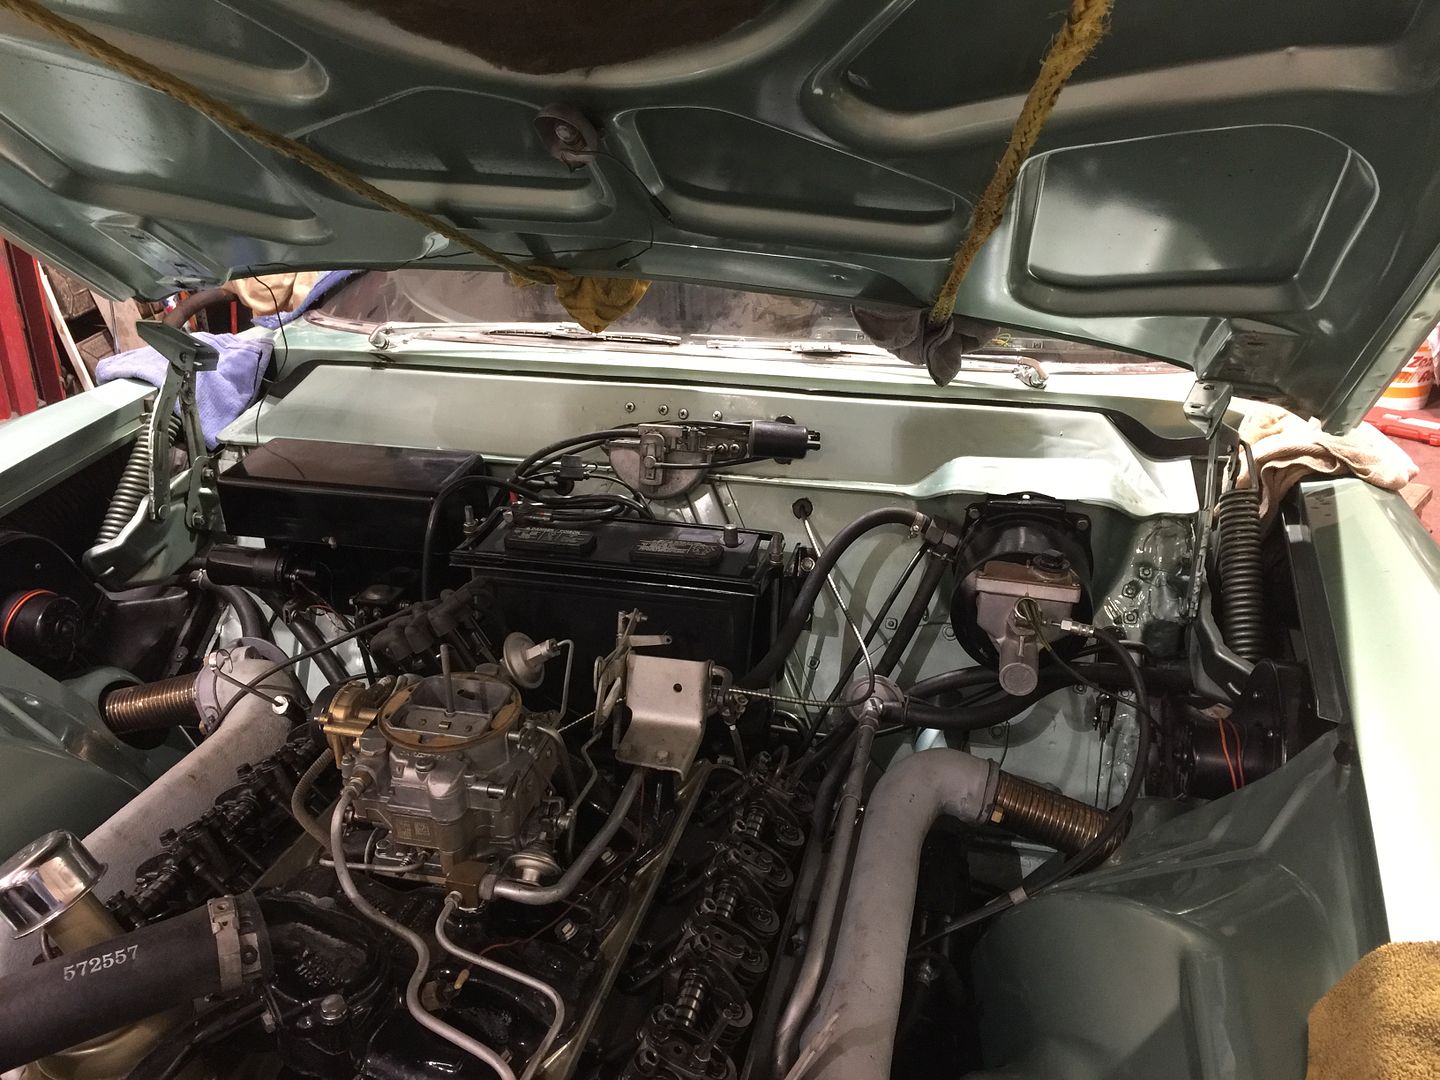
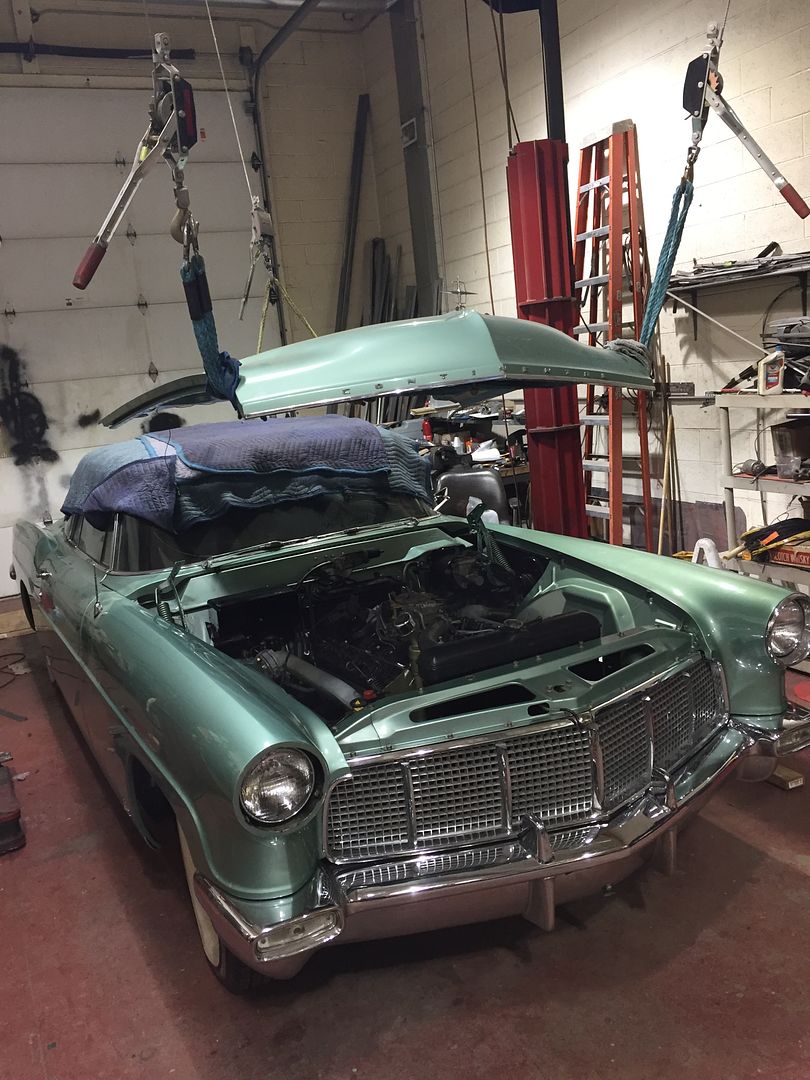
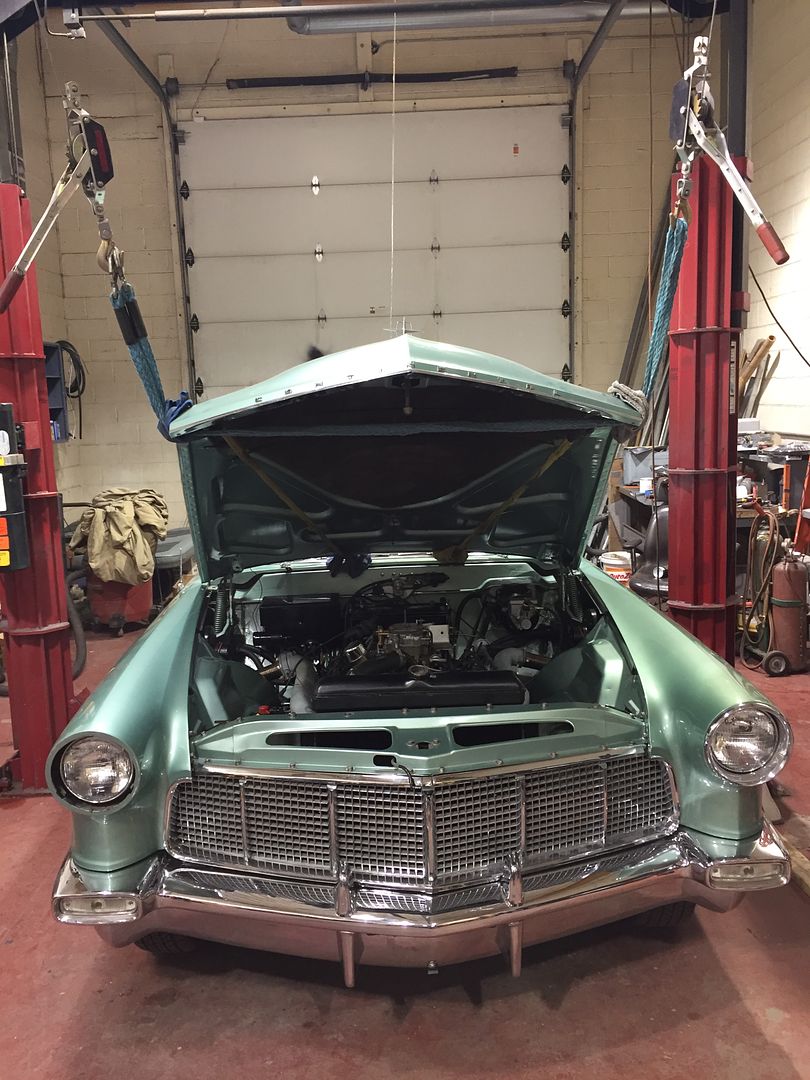
    The trick is put 50 pounds of air in each tire so there's little rolling resistance. With the hood propped at it's resting angle run both hooks between the windshield and rear hood edge and wrap them around the hood stops under the hood and make a V-shape that hooks onto the rear come-along using a microfiber cloth where the rope meets the paint. Use the other tow strap as a sling to use where the hood curves down. Take up the slack so the hood rises slightly. For additional safety use nylon wire ties to secure the sling and hooks to the bumper stop screws.

    Take the bolts out of the hinges and the hood just hangs there. Roll the car back easily so you can access all sides of the hood for slight rope adjustments. It's most stable when level. Reverse the procedure for reinstallation.


    Barry Wolk
    Farmington Hills, MI

    C5681126

  2. #2
    Join Date
    Mar 2010
    Location
    Lancaster, OH
    Posts
    7,806

    Default

    Very clever! I'm trying to get my head around doing this in a residential garage.
    Pat Marshall
    Lancaster, OH

  3. #3
    Join Date
    Jul 2009
    Location
    Farmington Hills, MI
    Posts
    4,581

    Default

    It could easily be done with pulleys and rope.
    Barry Wolk
    Farmington Hills, MI

    C5681126

  4. #4
    Join Date
    Mar 2010
    Location
    Lancaster, OH
    Posts
    7,806

    Default

    Oh, I get that part, I'm just thinking about what you hook the pulleys and ropes to. Since most residential garages have ceilings I suppose you would screw hooks into ceiling rafters (through the drywall). Plus since most regular residential garages probably have overhead doors, the work would have to be done with the garage door closed (No moving the car out once you suspend the hood.)
    Last edited by Pat Marshall; 06-13-2022 at 09:06 AM.
    Pat Marshall
    Lancaster, OH

  5. #5
    Join Date
    Jul 2009
    Location
    Chicago, Illinois
    Posts
    1,281

    Default

    The rear edge of my hood at the corners is about a half inch high. I've been told it's a hard fix and thus expensive. Congrats on that innovative setup.
    Shelly

    C56C2292
    '56 Continental Mark II

  6. #6
    Join Date
    Jul 2009
    Location
    Farmington Hills, MI
    Posts
    4,581

    Default

    Shelly, it is expensive for people that haven't done it before because so much of the car needs to come apart to do it.

    I've done it 4 times, I think. it gets easier each time, but if you're someone that hasn't had one apart the learning curve can get expensive for the customer.

    There is no cure for your car short of rebuilding the hinges. The Mark II hinges are pretty light duty compared to the weight and length of the hood. They easily wear out. They build the hinges backwards in my opinion, the hinges should have been made of hardened steel and the rivets made of something sacrificial. It's the arms wear making the holes oblonged in only one direction making it easy to find the center of where a larger rivet would go. The geometry of the hinge itself changes which causes the hood hike.

    It's easy to remove the hood with my method, but isn't tough for 3 people. Once the hood is off you have easy access to the 4 bolts under the hood that hold the hinge to a flange on the firewall. Those nuts and bolts get removed. That's the easy part. The seats will come out for the next part. Take it out in pieces. Both seat backs are easily removed with washers and clips. The seat bottom just lifts out. Remove 4 bolts from under the car that hold the seat tracks. Remove the linear actuator that moves the seat and remove its mount. If you're short the mount perches forward. If you're tall put it on facing rearward. Remove it for now. Remove the wiring for the seat and lift out the heavy and awkward seat frame. Now you have room get under the dash and remove the two panels in the footwell. That will reveal two screws on each side holding in the kick panel on
    to the firewall on both sides. People rarely put them back, but they are needed. The two tiny screws on he chrome grill below need to come out as do the trim screws in the door gap. The chrome cap with the tiny screws needs to come off both sides. The gauge pod cover has to come off for better access to the windshield base trim. These have to be removed to get the kick panels out but first the glove box has to come out by removing hidden screws under the glove box liner. Then remove the hinge bolts and drop the glovebox out. The kick panels pretty much slide rearward and out. The nuts for the other two hinge bolts now easily accessed on the passenger side, but you have to remove the emergency brake bracket to get good access on the driver's side nuts and washers.

    Before you can actually removed the hinges you have to remove the flex pipe off the fitting on both sides and remove the flex fitting. Now you can get the hinge out. Once the hinge is out you can have Jack's vendor rebuild the hinges for $1,000. Then they should be painted body color, before reinstalling them. There are lass expensive builders, but the guy he uses knows what to do and has the capability of making new arms for the hinges the they get too worn.

    Reassemble the hinges so they can move, gently lower the hood allowing the hood bumpers to center the hood. Have two people hold down the corners where you want them and tighten the nuts under the dash very tight as they have to hold while you open the hood and tighten the 4 hinge nuts and bolts. Do a final adjustment to the hood gap and you're done. Now you have to spend hours putting all the interior trim and seat back.

    For an experienced person its probably 20 hours, so probably $3,000 for the job.
    Barry Wolk
    Farmington Hills, MI

    C5681126

  7. #7
    Join Date
    Jul 2009
    Location
    Farmington Hills, MI
    Posts
    4,581

    Default

    Some more rigging pictures. I discovered that the rear caged nut was missing, someone had inserter a nut on top of the empty cage and crushed it, In order to fit it properly I had to cut an access hole to reform the cage. I'm having a rectangular nut made that will slide into the cage and lock it in with a stud that will replace the rear bolt. I'll use a thread-locker to keep it from backing out.


    Some more rigging photos. Start to finish, 20 minutes and it was off.


    Pat, you can lag 2x4s to your garage drywall ceiling allowing you to put your attachment points directly above each lift point.


    You can lower it into a mobile bench, or leave it hanging until you need it.

    Barry Wolk
    Farmington Hills, MI

    C5681126

  8. #8
    Join Date
    Jun 2017
    Location
    Aberdeen, Scotland UK
    Posts
    549

    Default

    Thanks for the extra pictures ...I was wondering what the yellow slings were attached to.

    Similar, but not so elegant, arrangement for my Jaguar C-type bonnet while I'm working on the engine (new rebuilt gas flowed head and triple Weber carbs) and interior;

    IMG_1909.jpg IMG_1880.jpg
    Last edited by Mark Norris; 06-14-2022 at 11:09 AM.
    Mark Norris
    C56G3186
    1963 Aston Martin DB4 Series V Vantage
    1951 C-type Jaguar (alloy replica)
    1934 Lagonda M45 Tourer

  9. #9
    Join Date
    Jul 2009
    Location
    Farmington Hills, MI
    Posts
    4,581

    Default

    Beautiful machinery.
    Barry Wolk
    Farmington Hills, MI

    C5681126

  10. #10
    Join Date
    Aug 2009
    Location
    Rosthern, Saskatchewan, Canada
    Posts
    984

    Default

    I have thought of this often because I have an assortment of nylon slings and suitable cranes BUT for myself I wouldn't take one off using this idea. When I took mine off in 1993 to rebuild the engine and transmission I had a couple of guys help with one in the front and myself on one side and another on the other side.
    If your help isn't strong enough or steady enough and because I was lifting and using the tools at the same time I ended up with slightly damaged threads on a couple and we most certainly know what happens if those nuts become wrecked!
    Luckily a thread chaser cleaned them up great and I escaped a mess.
    The ONLY way I would ever consider doing this solo is I would replace each and every bolt, one at a time with a stud with proper threads, threaded into the hood with nuts placed on them first!
    Installation would also be the same procedure for one simple reason, the studs threaded into the hinges are not being disturbed under stress or shifting and the threads on the other end take the brunt of the carnage due to possible misalignment or shifting due to the process. After it is removed and then reinstalled the studs can be replaced with the bolts one at a time, SAFELY!
    Does this sound overly or ridiculously cautious?? Not at all because this hood is very heavy and awkward to say the least. You just don't simply replace those nuts within the hood either. Also having a stud with a slight shoulder protects the bolts while aligning the hood and the hinges. NO I don't drill holes and my hood is precisely aligned and if your concerned about disturbing a perfectly aligned hood and hinges, simply use a pencil or a fine point olfa marker with ink that can be removed with alcohol after your finished and this marked location can be used to slide and align the hinges back exactly where they were.
    Other than this concern about removing my hood and my past experience, I DO NOT remove the grill for removing the engine like a number of others I see removing out of concern for the grill. Simply put, if you are concerned about the engine dropping on the grill, perhaps you damn well better reevaluate your lifting devices and if you feel they are inadequate, perhaps use stronger devices greatly exceeding the weight of the engine. If the engine is properly prepared for removal including totally unbolting the converter from the flex plate and pushing it back into the bell housing, this engine only needs to be moved forward about an inch to clear and straight up. Yes I also remove the battery box to facilitate an easier removal and straight up removal.
    Due to limitations in shop size not providing me with enough room to lift the engine up and forward over the grill and out, I had to push my crane in through the side and because I have swivel casters on all of my casters, and not only can I push the crane forward, I can push it straight sideways to separate the engine from transmission and then up and over the fender. Obviously I have very good lifting hardware and am not concerned about the grill or fender.
    One thing I do not do is remove the engine and transmission out as an assembly. It is considerably longer and if you position the lifting device farther back, it can be properly balanced, but is also considerably longer with the typical mess of transmission fluid dripping as well when the tail tilts down. Besides it also takes more room for this longer assembly.
    You can raise the front of the car and place it on a floor creeper and roll it out the bottom or take your same lifting device and sling it and remove it this way. If you and your helper are quite strong, simply pull it out by hand and lift it up and pass it over the fender to your helper to grab it and carry it away🤣
    It is not overly heavy and I carried mine and placed it in a safe dry place for temporary storage after being rebuilt to focus on the engine overhaul. It is also lighter with the convertor removed during moving around otherwise PLACE A STRAP OVER THE FRONT OF BELL HOUSING to prevent convertor from sliding forward and falling out if the front of the transmission gets tilted down.
    The OEM lifting devices if memory serves correct are mounted onto the exhaust manifold bolts but otherwise proper lifting devices placed on the intake manifold bolts can also be used and increase the length of them as well to compensate for the thickness of the lifting device mounts. TORQUE THE LIFTING DEVICE BOLTS TO SPEC!!
    Often I see shade tree mechanics or hacks that are too lazy to torque the lifting bolts🤬 A bolt with lifting force pulling up and out and to the side is less stronger than torqued and can result in broken castings and lifting bolts. I never realized it was so difficult to spend the time to perform one additional task of torquing the damn lifting hardware!!

Posting Permissions

  • You may not post new threads
  • You may not post replies
  • You may not post attachments
  • You may not edit your posts
  •